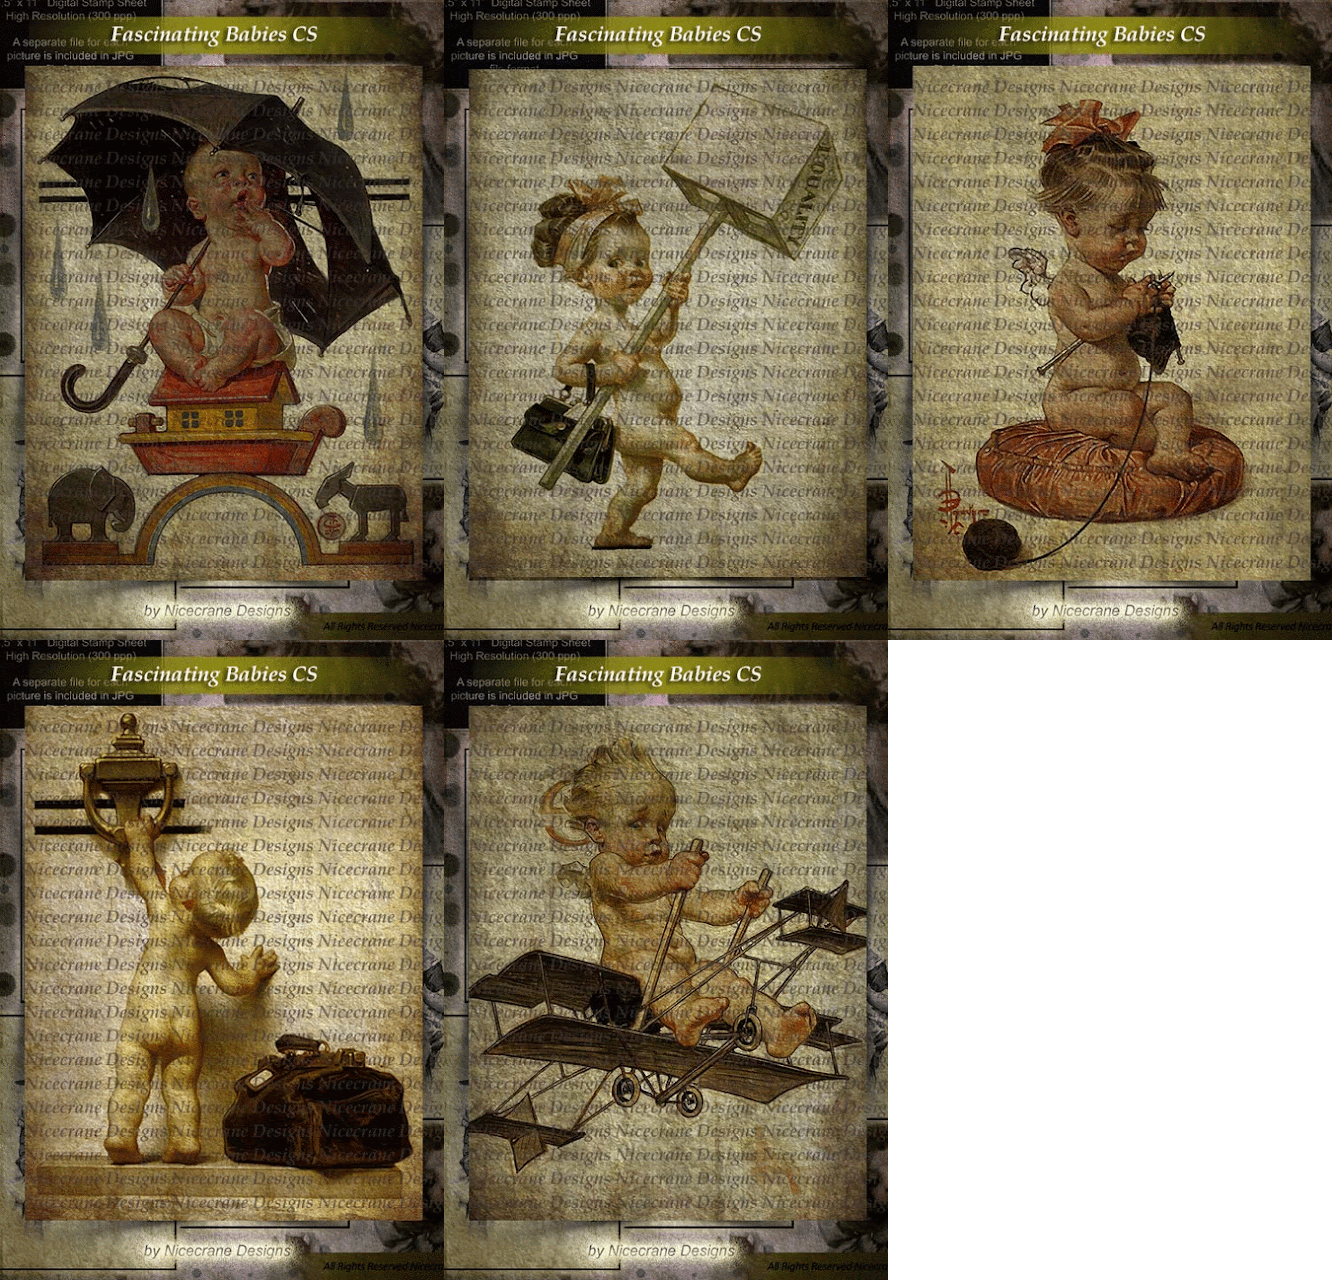
Christmas is coming soon and all over,,,,,are you looking for the perfect gift?.........so you can miss these ABSOLUTELY STUNNING VINTAGE TEA BICUITS BOXES, created by Mevlida Malkoc working with my funny "Fascinating Babies CS"
I am falling in love with these adorable babies,,,,, OMG Mevlida.
But Taht is no all,,,,,,Mevlida also was creating amazing Toffe Boxes, using the same collection,,,so you are watching lot os different ideas to create with this amazing pack.,enjoy watching them:
Thanks a million Mevlida,,,, I want a one for me.....mmmmmm
Aren`t These really Adorable ones????
mmmmmmmmm.....love these Vintage Toffe Boxes.....
And here is my new sheet:
_________________________________
What a Party Animal, Party Cat !
So colorful,,,,Kittens,,,,,I am falling in love with this Collection


____________________________
GET WELL SOON CARD (KITTEN STYLE)

The base of the card is a paper bag which I cut to approx. 5 "x6, 5". Pattern sheets are from October Afternoon.On the edge of one I used a punch from EKsuksess. The cat is from a collection of several lovely cat motif,Adorable Kittens Louis Wain named collection.

The flowers I embellished with are from Prima, Cards & Well and sisters Partnership. A label sticker from October Afternoon acts as matte for the text written with Jillibean Soup letters.

Stjernestickers from twine + ink dress up a bit here and there.

Has cut into a simple tag of Bazzil and fastened a filetab from Chic Tags in top.
Other materials: -Spellbinders ovals and non-scalloped edge -Fabric tag from Little Yellow Bicycle
-KatBra-

_______________________________
Sweet Angel Card
Katrin was working with my Angels Sheets,,,,to create an amazing and sweet card:
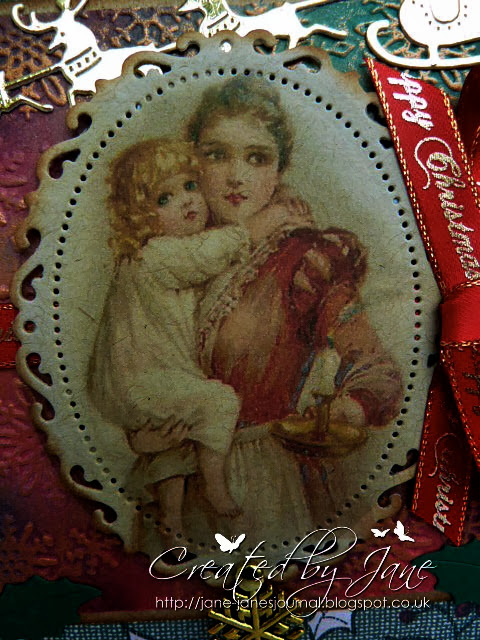
My favorite scene when it comes to Christmas cards are decidedly angels, so these beautiful angel pattern fromNice Crane Designs fell in well with me. Victorian Angel Postcards named worksheet with the cute angels.
I have chosen to create a bag short variant with any of these subjects. I have used a white paper bag as a base.The I folded in half, and then measure the approx. 6.5 "x4, 5". All sides of the bag is lined with patterned paper, then they remain stiff and nice. Pattern sheets are from Tilda.

Behind the beautiful angel pattern I have attached a piece cake napkin. The snowflakes are cut with a Marianne Design die (CR1227) and "gran bar" is cut with a Cheery Lynn die.

On the inside, I also used one of englemotiv. The stamp used here and those used on the front is from Short & Well.

The bird is a die-cut from Tilda.

In addition to writing area on the right inside of the card I have also attached a tag. You can either write something or such. attach a gift card or a donation.

On the flip side, I have attached a print of my personal stamp.


Vintage Halloween Treat Cone
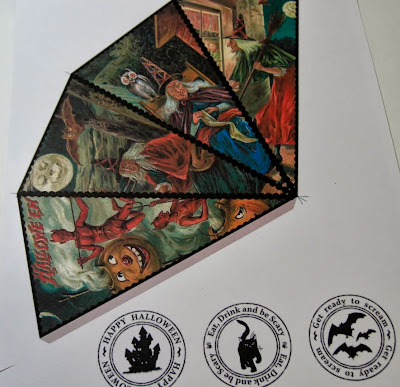
Lisa S. is sharing a wonderful Halloween project today that is super easy to put together and is loads of fun to decorate! The talented Ignacio of Nicecrane Designs designed this Vintage Halloween Treat Conewhich has multiple uses. You can hang these on a Halloween tree as ornaments, place candy in them for special trick or treaters or you can use them to jazz up your Halloween party table. Each cone prints on a 8.5 x 11" sheet in color and you also receive with this download three labels which can be used on candy jars or as a gift tag perhaps. You can see them below in the preview sheet byNicecrane Designs.
More close ups of my decorated Vintage Halloween Treat Cone.
Ignacio included cut lines so you know exactly where to fold each side. Here's how I assembled my Vintage Halloween Treat Cone. I used a paper trimmer and trimmed the sides (watch for the gray tab which is attached to one side, you need it to attach your cone so do not cut if off). On the larger ends I left 1/8th of an inch to see where the fold lines were and then I grabbed my Scor Pal and using the score lines I scored my cone. It gives your treat cone nice clean lines and double stick tape was used to join the gray tab to the cone. Now for the fun part which is decorating these. I used black lace trim for the top because they happen to be for two special girls I know. :-) More ideas would be to punch a paper border, use ribbon, metal embellishments or buttons. I added orange trim to two sides and adhered with paper glue and orange tinsel created a nifty handle for my cone.
Here is my Treat Cone Vol I

Best of all, Ignacio created another cone, Vintage Halloween Treat Cone II, which I will be sharing next week. Here's the preview sheet in case you are a bit curious to see it. ;)
{I love this one too!}

Special Thanks to all my DT for these stunning creations....


