Do you love Asian & Japanese Style?
A Japanese Vision about Christmas
Directly from Jenny`s blog "Merry Christmas everyone! I know, it's way too early. Having said that so many people are already fully immersed in making their cards and gifts ready for the oncoming festive season so maybe it's not totally out of place."
This greeting could also be considered totally wrong if you bear in mind my choice of focal images - Zojoji Temple, a Buddhist temple in Toyko, Japan! However, with the colours used and my love of all things Japanese I forged ahead with this unconventional selection.
These beautiful images were actually freebies from the incredibly generous Ignacio Molina of Nicecrane Designs!! You can find them
HERE alongside more wonderful samples from some of the Design Team.
If like me you are a fan of all things Oriental you will find a very reasonably priced selection of images at the Nicecrane Designs store
HERE. As well as sheets of ATC's there are envelopes, b&w digital images to colour and beautiful prints which are easily resized.
Did you notice the background layers directly under each image? That's something else I'm really excited about. As you will be aware my Wendy Vecchi stencils and paste are a source of great enjoyment and experimentation. It occurred to me that the flower in the 'From The Garden' stencil looks just like a chrysanthemum.
The Japanese are so enamoured with this bloom that it has the status of royalty and it is used on the Emperor's official seal and crest. They even have a National Chrysanthemum Day, the Festival of Happiness! There, you've possibly learned something new today.
Before applying the translucent paste through this portion of the stencil I mixed it with a little Distress Paint to add colour. Unlike the white paste this means you get a 'true' colour, and when dry it acts as a perfect resist to any inks or stains. On the first card I applied Tarnished Brass Distress Stain over the top to give a very dramatic and regal effect. The second card is slightly more subtle - red on red - with the addition of Watering Can Archival Ink flowers as a contrast.
The first card also makes use of some 'Brayered Stains' card, embossing and of course lots of layering. Matting each layer adds a more professional framed finish. For the second card I employed the very popular 'chalkboard' look with this Hero Arts background stamp called 'Chinese Thank You'. OK, so that bit is a little politically incorrect but it looks good, especially when layered onto some Maja Design blue card which has been distressed with Antique Linen and Spun Sugar.
Both cards were completed with some festive sprigs, a quick and effective way of adding those festive finishing touches without them detracting from the main images.
Now take a look to my new "Stunning H. Kawase" Sheet:
_____________________________
Lynne was working with one of my adorable
Xmas Pack,,,,,,,,"Ignacio from the fabulous
Nicecrane Designs is so generous. A few weeks ago I was asked to pick an image sheet so I could have some fun and I could not help but select
Vintage Women’s Christmas, it will come as no surprise why I wanted to play with this. As you can see, it is available as a Saver Pack, consisting of three collage sheets"
.
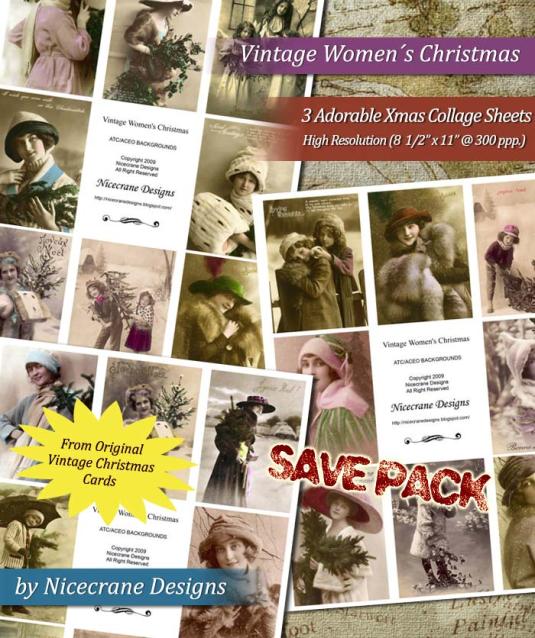
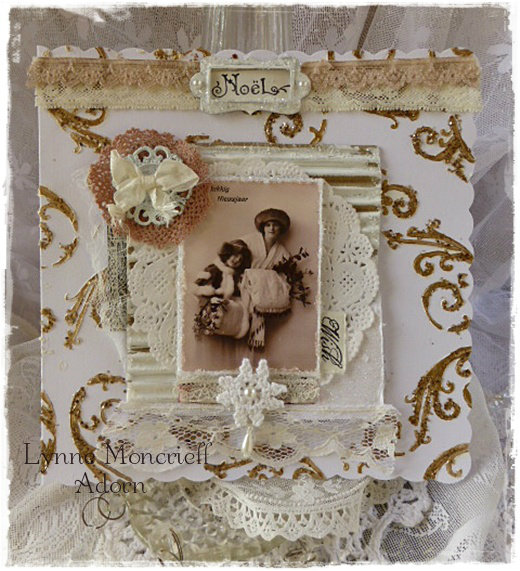
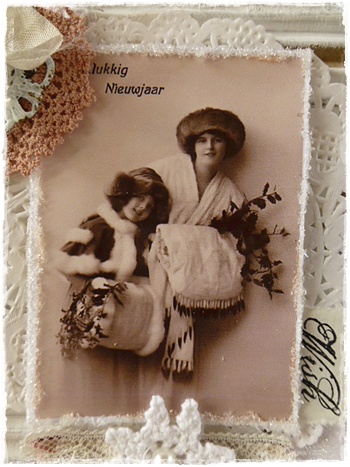
I wonder how you are progressing with your Christmas preparations, I am failing dismally, even worse than this time last year which I would have said was impossible. So much so that I have taken the step and bought Christmas cards, now please, do not shun me, it had to be done! This is the first time since I started making cards so it feels like a huge step backwards for me but it was a matter of, something has to give. Saying that, I still intend on sending a handmade card to family members and others on my list which means that every now and then I will be sharing a card or any other projects I manage to make.For this post it is my first card made using Vintage Women’s Christmas, with more to follow shortly, once I photograph them!
8″x8″ scallop edged card.
You can see that I have been playing with the gorgeous
Crafty IndividualsElegant Swirls mask/stencil set! Using with texture paste which I then painted over with gold,copper and bronze paint, an act not to be repeated as it was too time consuming! Once dry I then adhered vintage mica flakes (available from That’s Crafty) which are a favourite of mine at the moment.I was so drawn to this image that I had to use it first. Coating the edges with glass glitter for a frosty look and as you can see, lots of layering.
I still had to incorporate stamping onto this card with beautiful stamps from various
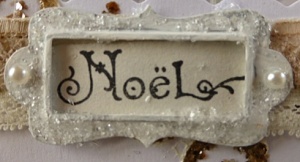
Oxford Impressions winter/Christmas stamp sets. Noel is tucked behind a frame altered for that frosty appearance, as though Jack Frost himself has made an appearance overnight, layering everything in a sparkly coating of frost.
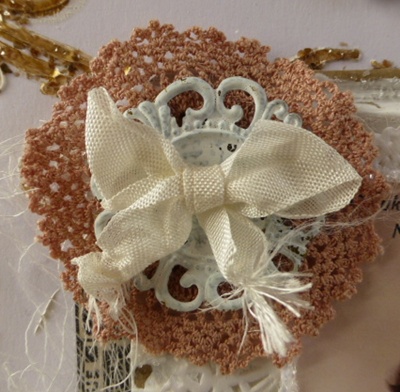
Layering a metal frame with a circle cut from a vintage doily and a teeny bow tied from a scrap of seam .
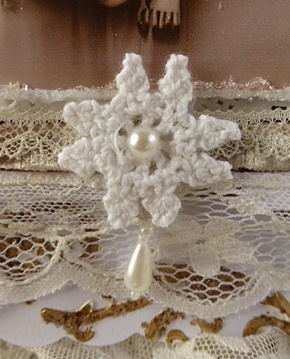
Tucked beneath…..a stamped label, again from Oxford Impressions.This piece reminds me of a star or .snowflake, it was cut from another vintage doily
Thank you to Ignacio for his generosity in allowing me to have the pleasure to create with this beautiful image and the others which will follow soon. If Nicecrane Designs is a new name to you then why not visit
Ignacio’s Blog and discover his wonderful DT and also where he generously shares free images for you to use in your artwork. To visit his on-line store see the link at the top of this post.
________________________
Happy Santa ....my New Funny Christmas Sheet
I am now showing you the cute and
adorable card and box by Carole, working my latest new Christmas Sheet called
"Happy Santa ": I am having a relatively 'free' weekend gave me the chance to catch up on my design team projects, so today a break from Halloween and autumn cards for this Christmas card and gift box made using both pre-coloured and digital stamps from
Nicecrane Designs. Click on my link to be taken to an emporium of wonderful vintage digital designs..honestly there is so much choice -just take a look!
To make the card I began with some Adorable Scoreable card, I used a digital stamp, which I coloured with Promarkers and simply matted and layered on green and gold card, which I then tied with red ribbon and added a button and bakers twine. To finish I didn't want to add glitter anywhere, but I added a little flowersoft to make the 'fur' cuff on Santa's cloak. The image is large, bold and colourful, so I wanted it to remain the focus and refrained from adding any other embellishments to detract from it.
I created the box from a plastic milk carton template, which I bought from Stamps Away at Alexandra Palace in April. Interestingly, I was watching Ali Reeve on Create and Craft on Friday and they were selling these templates. She demonstrated embossing the template through the Grand Calibur (or other embossing machines) to mark the crease folds - and yes it works!
Again, I used Adorable Scoreable card to make the box, but this time, just to show you the pre-coloured images, I used them instead. These photos show the front and back of the box.
These are the images on the pre-coloured sheet - you get the same images with the digital stamps, except of course they are in black and white !
Enjoy these new Christmas Sheets:
But if you wish to color by yourself then......
Thanks again to the Team for these stunning creations and specilly to Lynne.


