Marion was working with an adorable kitten sheet.Today something completely different then you are used from me, yet still with cats :). I couldn't resist when seeing this supercute digis " The Kitten Garden of Verses" from Nicecrane designs. There are several images in one buy, so cute and lovely, so this is definately not the last card with these supercute cats:
ENJOY LIFE (KITTENS CARDS)
I printed the image on canvas. The stitchting was difficult on canvas, but I did like the outcome, even though it is not a straight line, it fits perfectly to the vintage look :). I used Magnolia papers.
To get started I used a sketch from Lalala lands challenge, the alphabet beads, the key and the rope I used are from Whiff of Joy, Looking forward reading your comments.
I love amimals,,,,so I have designed this special Kitten Collage Sheet for you
Enjoy my sampler
With The Kitten Garden of Verses

______________________________
ARE YOU A BEATRIX POTTER FAN?
I told you Monica Skinner is now on my Team ,,,,and now I am showing you her incredible, unique and all over a true play of art,,,,based on my "Roly-Poly Pudding DSL" from the famous book by Beatrix Potter.
THE ROLY-POLY PUDDING EXPLODING BOX
By Monica Skinner

The Roly-Poly Pudding Box (Closed View) by Monica

The Roly-Poly Pudding Box (Top View) by Monica
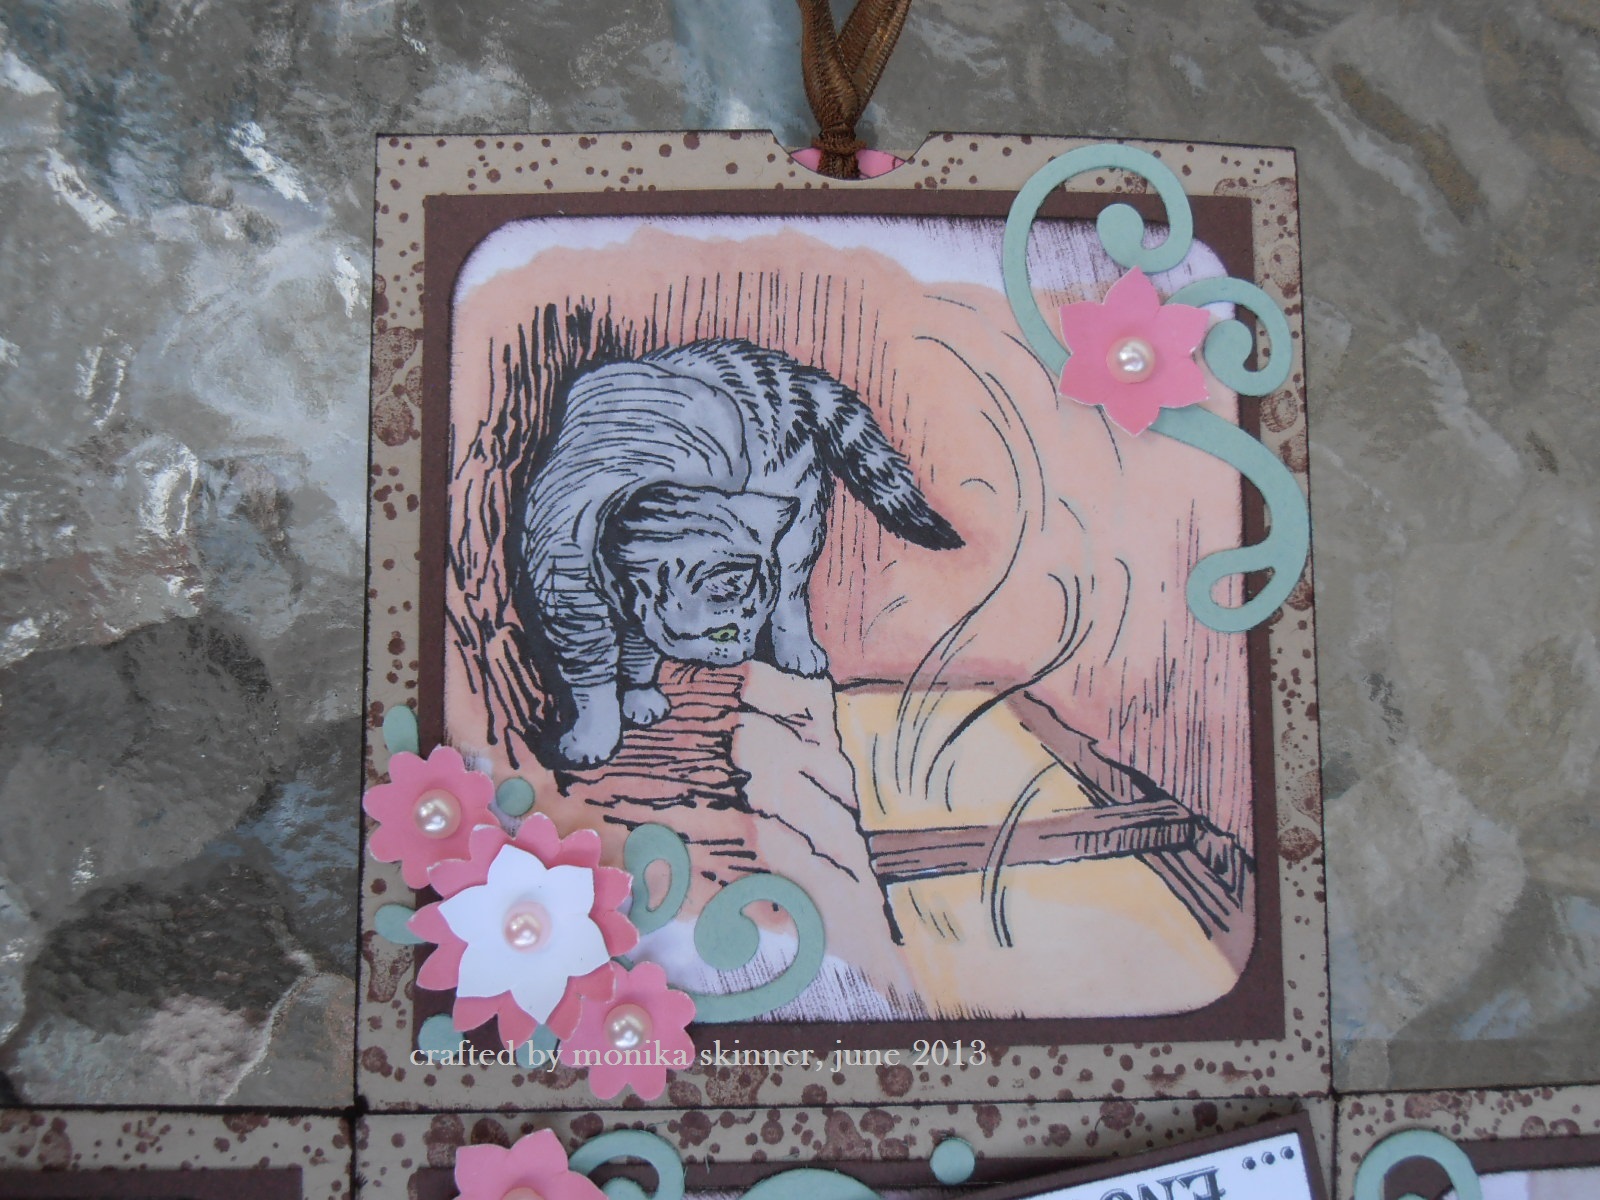
My house is filled with them. I even took the images to the caravan last weekend to colour them in. It looks as it if it might have taken a long time to colour, but I can assure you, they were easily coloured, and for the shading you just follow the lines.

I have decided to split this one into two posts as there are quite a few pictures. Tomorrow you’ll get to see the hidden messages, that will bring the story to life … now let’s get started …
I purposefully kept it quite plain to enhance the ‘Wow’ effect, which happens once the lid is lifted …
… and the sides fall down to reveal the inside panels. My intention was to create a card/book one could interact with a bit. With this in mind, I placed the pictures. To properly view them you’ll have to turn the card. I shall give a close up in a bit.
To create my base, I started with a 12 x 12″ piece of card, which I scored at 4″ and 8″, turned by 90 degrees and scored again at 4″ and 8″. I then cut the corner squares off and with a fine line of glue around 3 sides only attached these squares to my remaining 4 outer squares to form the pockets for my tags. More about those tomorrow. I then set about to decorate my squares as shown in the following pictures.
You can`t miss this STUMNING CREATION by Monica
I am falling in love with her
Absolutely Gorgeus Colorization
Absolutely Gorgeus Colorization


The fifth and centre panel will be revealed tomorrow.
As mentioned earlier I coloured the images at the weekend in the caravan using my promarkers, just as well that I had some retired SU card stock left otherwise I wouldn’t have had any green to match. Next time I’d better check first … LOL. I just blended and distressed the white edges of my coloured images and rounded the corners before mounting them on some chocolate coloured card stock. The background of my base card is stamped, you can equally well use some pretty paper. I then finished off by decorating my squares with flowers, beads and swirls … to be continued 

ARE YOU A TRUE B. POTTER FAN?
THEN CHECK OUT MY PETER RABBIT COLLECTION
(Not available on the UK due Copyright Restrictions)


1 comments:
WOW ! Marion and Monica have created two fantastic works of art ! I am so in love with the images Marion used... Hugs, blessings and love from Catherine
Post a Comment